


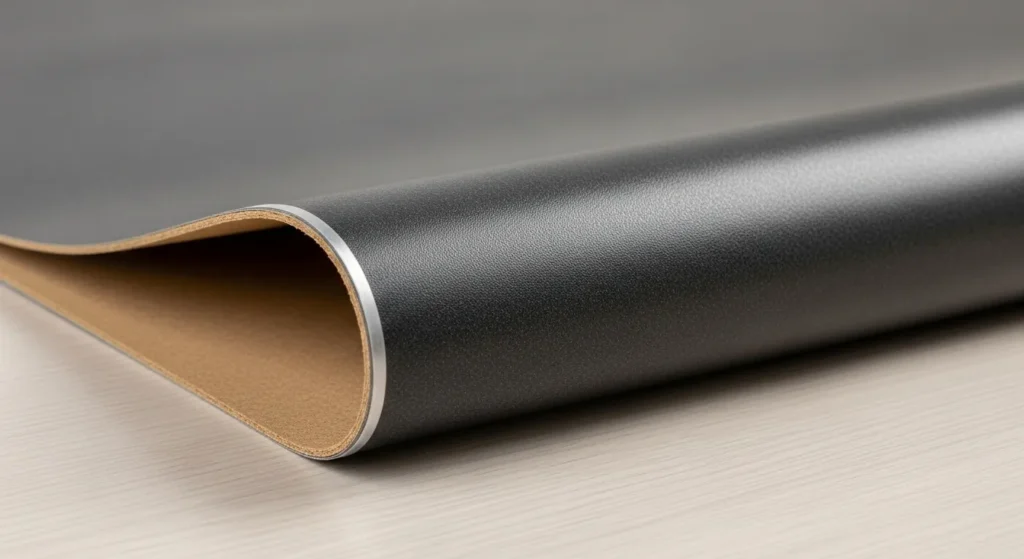
Rubber flooring has become a famous choice for gyms and garages. These one are known for their stylish living spaces, comfort, and modern look. Rubber flooring can change your room into a functional and attractive space.
But how do you make sure it’s installed properly so it lasts and looks great?
Let’s dive in!
A Step-By-Step Guide To Install Rubber Flooring For Optimal Use
Below, we have shared the steps that are involved in installing rubber flooring for optimal use. Make sure to read the article till the end, as we have discussed all the ones in detail.
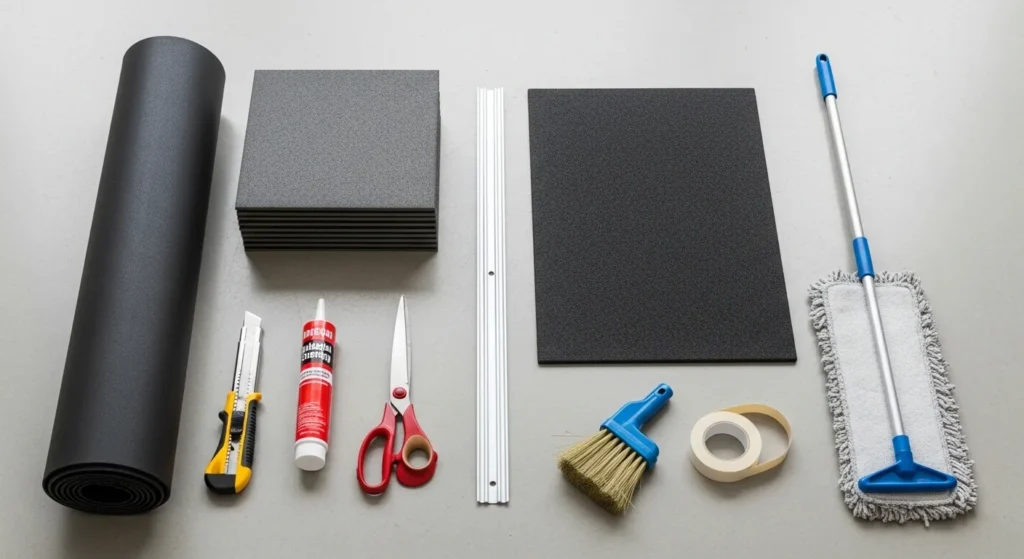
Step 1: Gather Your Tools and Materials
To get started with the tools you need to gather your tools and materials. Below, we have shared the ones that are useful in the process.
- Rubber flooring rolls, tiles, or mats
- Utility knife or heavy-duty scissors
- Straight edge or ruler
- Adhesive (if needed)
- Double-sided tape (optional)
- Cleaning supplies (broom, mop)
Step 2: Prepare Your Subfloor
To ensure that your flooring is maximum durable you must prepare your subfloor well by following the below shared steps efficiently.
- Clean: Remove dirt, dust, and grease.
- Dry: Moisture can weaken the bond and cause mold.
- Smooth: Fill cracks or holes to create an even surface.
A level subfloor ensures your rubber flooring will lay flat and look seamless.
Step 3: Plan Your Layout
Before cutting and ungluing, dry-lay your tiles and rolls. This will:
- Help you see how the pieces will fit.
- Minimize waste by adjusting the layout.
- Ensure you’re happy with the final look!
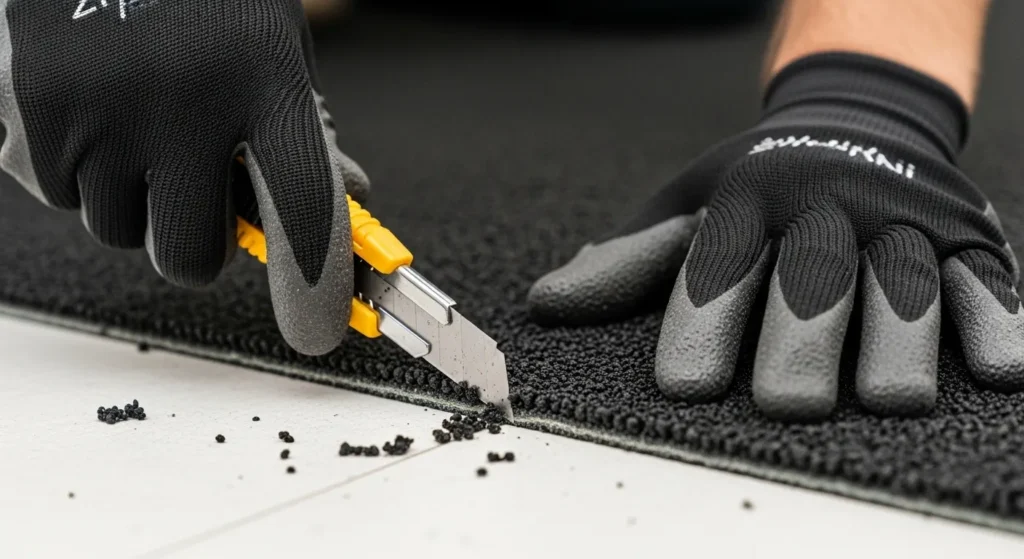
Step 4: Cut to Fit
This is the time where you can ensure that your carpet looks clean and professionally installed. Take a knife and cut the edges of the carpet to ensure that it fits in the floor. Make sure to trim it precisely so that it looks clean and well-fit in your space.
Step 5: Secure the Flooring
It is important to secure your flooring to ensure that the flooring does not get ripped off or dismantle after a few times of using.
Based on the location of your flooring you can either use adhesive, double-sided tape, or loose lay to ensure that your flooring stays secure and does not get loose from any part or start folding as this can drop the overall look and quality of the rubber flooring solution.
Step 6: Seal the Edges (Optional)
For extra water resistance, you can use a seam sealer or caulk around the edges. This is an optional step as you if you think it is not necessary you may skip it as this can take time and energy.
The main purpose of doing this additional step is to ensure that preventing moisture from seeping underneath.
Step 7: Clean and Enjoy
Once your rubber flooring is installed at your place, you may use a mild detergent and water to clean the flooring and getting away of any rigid smell whether of rubber or adhesives used in the installation process. It is important to know that you may not use any harsh chemicals as that can damage the rubber.
Style and Maintenance Tips
Below, we have shared some style and maintenance tips with you to ensure that you get the perfect experience and do not face any problems afterwards.
Add Style
You might think that rubber flooring is only black, but that is not the case. There are other colors and patterns which you can choose based on your interest and add style to your flooring solution.
Regular Maintenance
Always remember that even it is a rubber flooring solution, it is important to clean the rubber regularly to ensure that it does not get grind into the surface and also mop as needed.
Rotate Mats
In high-use areas like gyms, rotate your mats to even out wear.
Final Thoughts
Rubber flooring is a great choice for both style and performance. With proper installation, it can handle whatever life (or workouts!) throw its way, while looking great for years to come.
Want personalized recommendations for your space? Reach out, and we’ll help you find the perfect rubber flooring solution!


